By the velements team·Updated November 20, 2026·4 min read
How do you give a GTA 6 edit the Vice City neon look?
Grade the footage towards magenta and cyan with warm sunset highlights, then layer light leaks, a neon flicker, film grain or VHS texture and bold condensed titles on top. Cut to the beat of the music and export the overlays with transparent backgrounds so they sit over any clip.
GTA 6 returns the series to Vice City, its fictional Miami, in the state of Leonida, and the game's sunsets, wet streets and neon signs have set the visual tone for a whole season of edits. The look is not one filter. It is four or five simple layers stacked in the right order, and none of them require the original trailer's assets, which you should not be using anyway.
What the look is made of
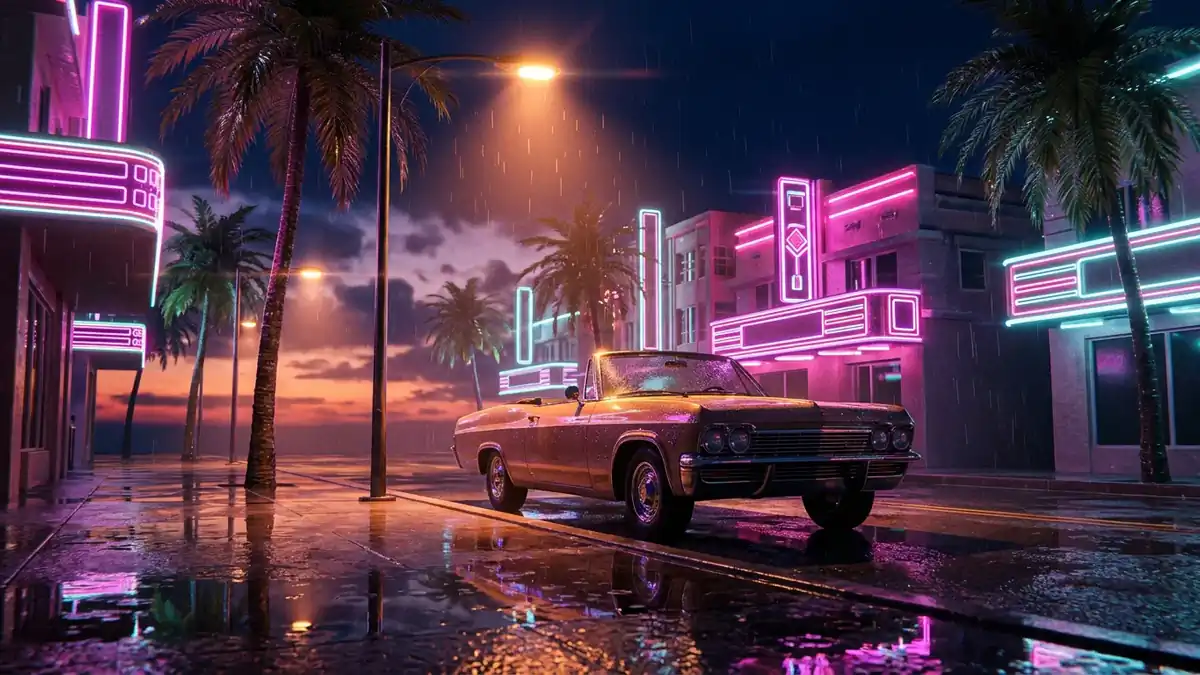
Start with the palette: hot pink and magenta, cyan and teal, and a warm orange where the sun or a streetlight hits. Shadows lean blue or purple rather than black.
Add light that behaves like light. Flares when the sun crosses the lens, a glow around signs, reflections on wet tarmac and the red and blue of a police light bar sweeping across the frame.
Then add a layer of imperfection, which is what stops it looking like a game capture: film grain, a little halation, or the tracking lines and date stamp of an old camcorder. Type comes last, and it is big, condensed and confident.
Grade the gameplay footage
Capture at golden hour or at night in the rain if you can choose; the game does half the grade for you. In the editor, lower the contrast slightly, lift the shadows and push them towards blue, then push the highlights towards orange or pink.
Raise saturation in the pinks and cyans only, not globally, or skin tones turn orange. Finish with a soft glow on the highlights. Every mainstream editor, including CapCut and DaVinci Resolve, can do this with its built-in colour tools.
Add light: leaks, flares and neon
Light leaks and flares are overlays. Place a clip of moving warm light on a track above the footage and set its blend mode to Screen or Add. Use them on cuts and on the beat rather than constantly.
For the neon itself, an animated sign flicker, a wet-street reflection loop or an emergency light bar gives a shot the night-time city feel even when the footage is flat. These are presets in the velements light category, and the colours are editable, so the pink and cyan can match your grade exactly.
Keep each light effect short. Two or three well-placed sweeps in a thirty-second edit feel expensive; one on every cut feels like a template.
Add texture: grain, VHS and glitch
Film grain over the whole edit ties gameplay, titles and overlays into one image. Keep it subtle enough that you only notice it when it is switched off.
For a retro cut, go further: VHS tracking lines, a camcorder record frame, a date stamp in the corner, a television switching off for the ending. They suggest found footage from the city, which suits a crime story.
A glitch is punctuation. Use a few frames of colour-channel split or signal drop on a hard cut or a bass hit, never as a constant effect.
Titles that fit the style
Pick one condensed, heavy sans-serif or one brush script and use it for everything. Set titles large, tight and in one or two colours from the palette, with a hard shadow or an outline so they hold over busy footage.
Animate titles in with the beat: a stagger, a slam or a kinetic stack that lands word by word. Animated titles are where editors lose the most time, and where a preset you can retype pays for itself fastest.
Do not use Rockstar's logo, its lettering or its cover artwork in your titles or thumbnails. They are trademarks and copyrighted art, and an original title in the same mood looks more like a creator and less like a reupload.
Put it together and export
Stack the layers in this order from the bottom: graded footage, texture, light, titles. Cut to the music first, then add effects only where the music asks for them.
For overlays you download, use transparent WebM in CapCut, and a PNG sequence with alpha in Premiere Pro, After Effects, DaVinci Resolve or Final Cut. Light leaks on a black background work in any editor with the Screen blend mode.
Export 16:9 for YouTube and a recomposed 9:16 for Shorts, TikTok and Reels. The style travels well in vertical, as long as the titles are rebuilt for the narrower frame instead of scaled down.
Presets for this guide
Every preset in these categories is free to edit and export, with no account.
There is no need to imitate Rockstar's own lettering, which is its trademark. Any heavy condensed sans-serif gives the poster look, and a brush or marker script gives the retro Miami look. Use one of them consistently in pink, cyan or white with a hard shadow.
Can I use GTA 6 trailer footage or music in my edit?
It is risky. The trailers, their music and the game's artwork are copyrighted, and trailer songs are licensed tracks that Content ID recognises. Use your own captured gameplay, music you have a licence for and original overlays, and the edit stays yours.
Ready to create?
Try the workflow this describes
Open a preset, put your own text and colors in it, and export the file. Editing, previewing and downloading cost nothing.
Record more than you need, cut to one story per video, open on the best moment, then add captions, sound and a few transparent overlays such as impact effects, callouts and a subscribe prompt. Keep the first seven seconds free of graphic violence if you want ads to run.
Make Shorts that answer one question or show one moment: can you do this, what happens if, then versus now, a detail nobody noticed, or a challenge with a counter. Open on the result, caption every word, keep it under 40 seconds and turn the winners into a numbered series.
Usually yes. YouTube's advertiser guidelines let unedited gameplay violence earn ad revenue when it comes after the first seven seconds, and gameplay with your own commentary and editing is widely monetized. The risks are licensed radio music, graphic thumbnails, spoilers and reuploaded cutscenes.