Transitions

How to Add Ink and Liquid Transitions Between Clips

By the velements teamUpdated November 14, 20264 min read
How to Add Ink and Liquid Transitions Between Clips

How do you make a fluid or particle transition that covers the whole frame and exports with a transparent alpha channel?

You generate the geometry — ink edge wobble, crystal fracture shards, foam particles — frame by frame from the progress value, draw it in one color during the cover phase, then erase the same shape with destination-out during the reveal. The result is a transparent WebM that your editor drops on the cut.

Cut transitions in Reels, Shorts and TikTok work best when the effect covers the frame cleanly, sits on a transparent layer and takes under two seconds. After Effects can do this but every variation means a new comp, new expressions and a new render. These presets let you set the color, direction and timing, then export the transparent overlay directly.


Five transitions presets to start from

Hover any card to play it. Opening one loads it in the editor with every control unlocked.

  • Ink Blob

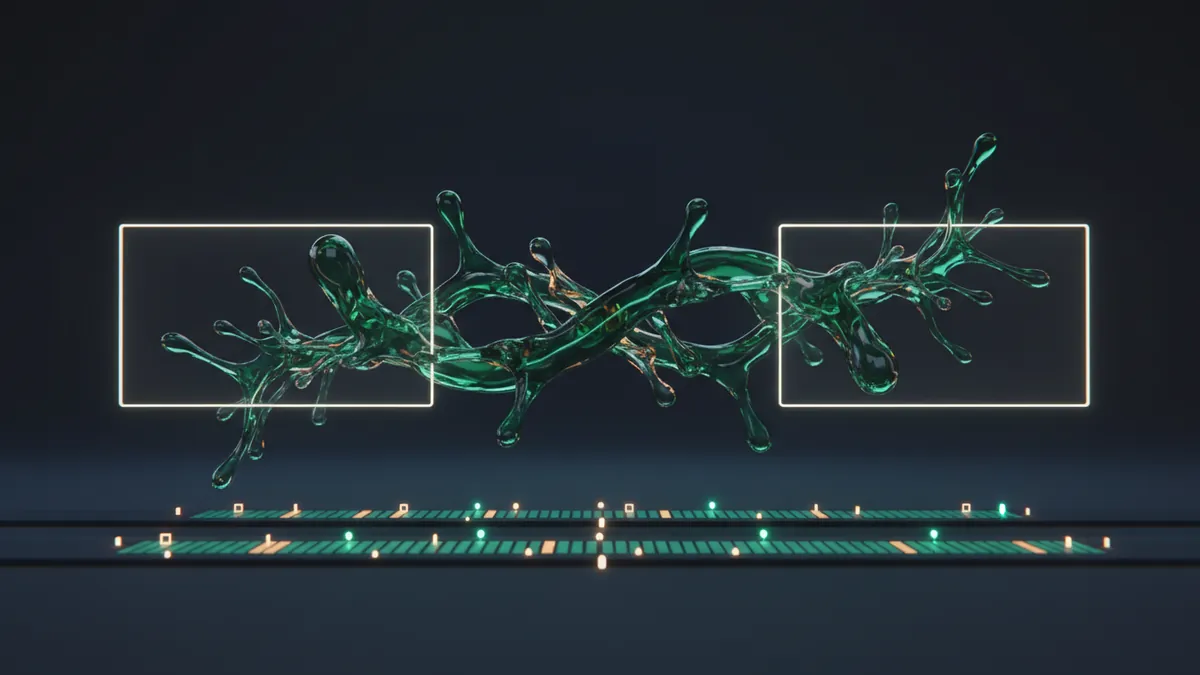
    Organic ink sweeps from the left with a wobbling edge, floods the frame, then recedes to reveal the next shot.

  • Lava Flood

    Molten lava rises from the bottom with a churning, lumpy edge, swallows the frame, then recedes upward.

  • Smoke Billow

    Billowing smoke rolls in from the right with a soft blurred edge, wraps the frame and drifts away.

  • Paint Pour

    Thick paint pours from the top, spreads with a heavy dripping edge, then the whole mass lifts to reveal the next scene.

  • Foam Surge

    A surge of foam bubbles sweeps left across the frame, densely packing until the screen is covered, then clears away.

All transitions

Step by step

  1. Choose by the pace of the cut

    Glitch Blocks and TV Static Burst are the fastest, at 0.9 seconds, for quick tech or gaming edits. Ink Blob, at 1.5 seconds, has a soft organic edge that suits lifestyle and travel. Smoke Billow runs 2 seconds and works when a change of location or time deserves a pause.

  2. Set colour and direction

    Primary sets the cover colour, and it should contrast with both shots. Direction sends the sweep left, right, up or down on presets that have one, so match it to movement in the footage. Variation gives a different edge from the same style. Foam Surge and Sand Storm add Density.

  3. Match duration and ratio to the project

    Export at the same aspect ratio as your timeline, since a 16:9 clip will not cover a 9:16 frame. Duration can go up to 5 seconds, but the defaults stay under 2 so the effect reads as a cut. The midpoint is the moment of full cover, which is where the cut belongs.

  4. Export with alpha, never MP4

    All 20 presets default to a transparent background, and MP4 cannot hold it, so an MP4 would hide your footage. Export a PNG sequence for Premiere Pro or After Effects, since neither opens WebM without a plugin. Export WebM with alpha for CapCut, and for Resolve on most systems.

  5. Centre it on the cut

    In Premiere Pro, use File > Import, pick the first frame and tick Image Sequence, then set the rate in Interpret Footage. Place the clip on a track above the cut so its midpoint sits on the edit point. In CapCut, add the WebM as an overlay and do the same.

Where it is used

  • Travel and lifestyle edits

    A travel montage moves between cities through Paint Pour or Ink Drip in a colour taken from the next location, hiding the jump with a change that feels hand-made rather than digital.

  • Gaming highlight reels

    A montage cuts from one clip to the next on the beat with Glitch Blocks or Electric Web, a stylised change that suits fast footage and hides mismatches between very different scenes.

  • Channel segment changes

    A weekly show uses one Halftone Wipe in its brand colour every time it moves between segments, so the audience starts to treat that wipe as the signal of a new topic.

Presets
20
Default length
0.9 to 2 seconds
Best export
PNG sequence or WebM with alpha
Aspect ratios
16:9, 9:16, 1:1, 4:5

Which format should you export?

Always export as transparent WebM for transitions. Place the clip on a track above your footage, aligned to the cut point so the first half covers the outgoing shot and the second half reveals the incoming one.

Format
MP4 · WebM · PNG sequence
Alpha
WebM or PNG sequence
Resolution
720p to 8K
Aspect
16:9 · 9:16 · 1:1 · 4:5
Works with
Premiere Pro · After Effects · DaVinci Resolve · Final Cut Pro · CapCut · Figma
License
Commercial use included
Cost
Free · no account · no watermark

Three tips that make it look intentional

  • Keep duration under 1.5 seconds for snappy cuts; 2 to 3 seconds works for slower, more stylized edits.
  • The transparent export drops straight onto a cut: a PNG sequence in Premiere, After Effects and DaVinci Resolve, WebM with alpha in CapCut and on the web.
  • Change the seed to get a different variation of the same style — every seed value produces a deterministic result you can reproduce.

Three things people get wrong

  • Exporting as MP4 for a transition — MP4 has no alpha, so you lose the transparency. Use WebM.
  • Choosing a transition color that matches the footage. Pick a color that contrasts with both shots so the cover reads at a glance.
  • Stretching or speeding the exported clip. The timing is baked in; render a new export at the duration you need.

Frequently asked

How do I use the transparent export in my editor?

In Premiere, After Effects and Resolve, import the first PNG frame with Image Sequence ticked and place the clip on a track above your footage. Premiere does not read WebM without a plugin, so keep WebM alpha for CapCut and web pages.

Can I change the direction of the wipe?

Yes. The Direction control rotates the whole effect — left, right, up or down — so you can match the cut to your edit rhythm.

  • How to Add Shape Transitions to a Video

    Shape Transitions

    How to Add Shape Transitions to a Video

    A shape transition is a graphic wipe where a circle, bar or tile grid travels across the frame and hands the shot over to the next one. It hides the cut, carries your brand color and works in any editor once exported as MP4 or transparent WebM.

    Read the guide
  • How to Add a Glitch Effect to a Video

    Glitch Effects

    How to Add a Glitch Effect to a Video

    Choose a glitch preset, set the intensity, speed and colors, and decide whether it carries text or acts as a transition. Export MP4 for a full-frame hit or transparent WebM when the distortion should sit over your own footage.

    Read the guide
  • How to Add Light Leaks to a Video

    Light Leaks & Flares

    How to Add Light Leaks to a Video

    Export a light leak on a transparent background, place it on the track above your footage, and set the blend mode to screen or add if your editor needs it. Trim it to the cut you want to soften, and lower the opacity until it feels like lens behavior rather than an overlay.

    Read the guide
Ready to create?

Make your next clip in the next five minutes

Editing, previewing and downloading are free. No account, no watermark, every format and resolution.