3D VFX

How to Add Real 3D VFX Loops to a Video Without a 3D App

By the velements teamUpdated November 14, 20264 min read
How to Add Real 3D VFX Loops to a Video Without a 3D App

How do you get a real 3D energy core, glass object or sci-fi flythrough into an edit without modelling, lighting and rendering it yourself?

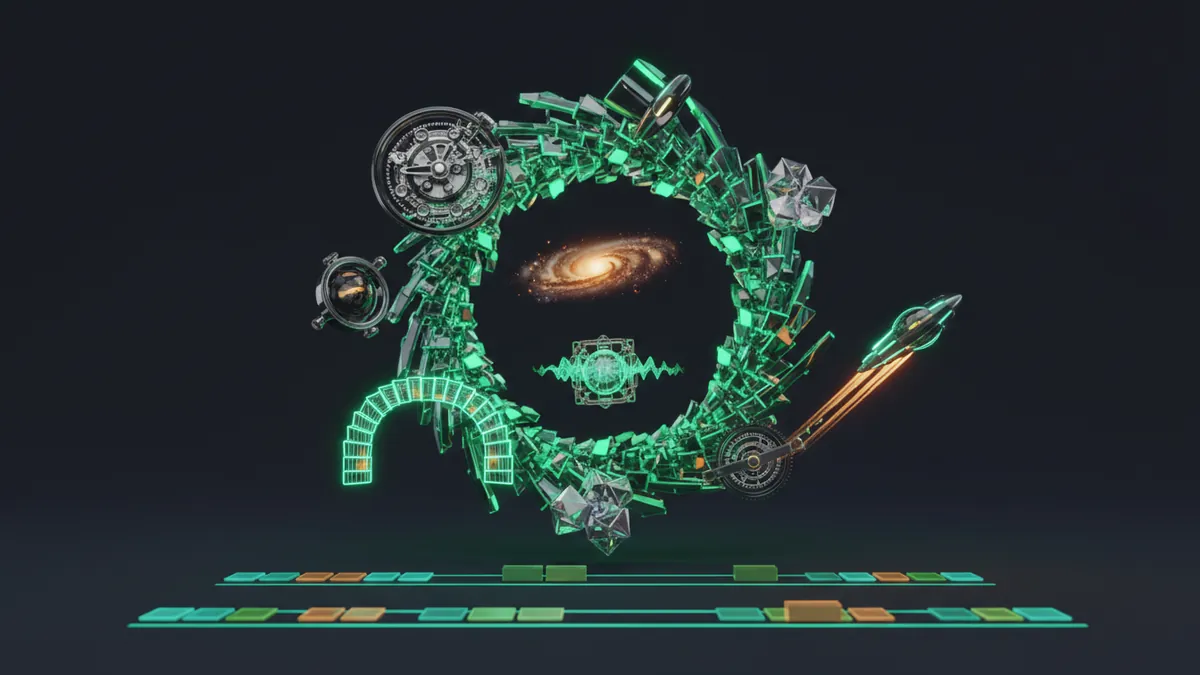
Generate it in the browser. Every 3D VFX preset here is a real-time 3D scene with physically based materials, environment reflections, HDR bloom and filmic tone mapping. You change the colors, speed, camera tilt and intensity, then export the loop as MP4 or as WebM with alpha, with no render farm and no plugin.

Stock 3D loops are baked: one palette, one camera, one length. Because these scenes are rendered live, the plasma color, the glass tint, the light rails and the rotation speed are all controls, and every loop ends on the frame it started on. Chrome and glass pick up a studio environment map, emissive parts bloom, and particles have real depth, so the result reads as a rendered 3D shot rather than a flat effect. The library covers satisfying machines such as a marble helix run, a domino ring and a pendulum wave, science and space models such as a DNA double helix, an atom, a ringed planet and a black hole, and stage backgrounds such as a neon arch tunnel and a mirror disco ball. Switch the aspect to 9:16 and the camera reframes for YouTube Shorts, and the newer loops default to ten seconds or more.
Five 3d vfx presets to start from

Hover any card to play it. Opening one loads it in the editor with every control unlocked.

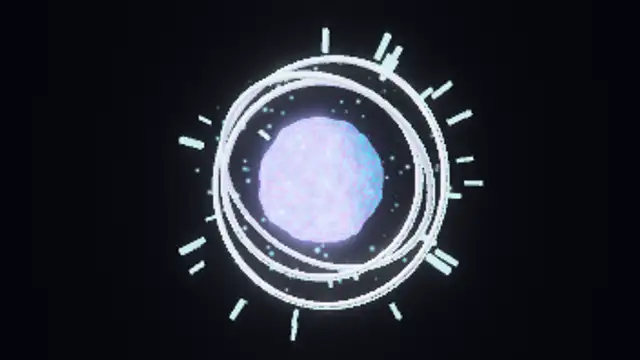
  • Energy Reactor Core

    A churning plasma sphere spins inside three chrome gyro rings with glowing rails, radial emitter struts and orbiting sparks, lit by real 3D lighting and bloom in a seamless loop.

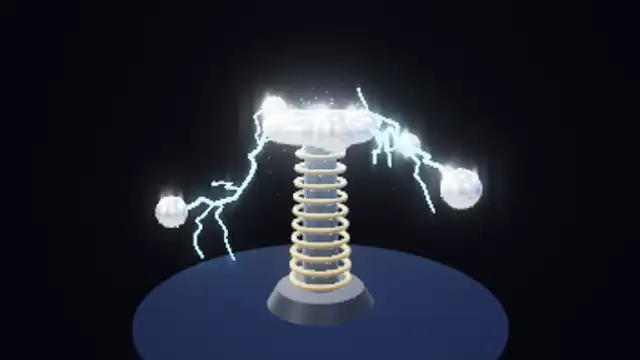
  • Tesla Coil Arc Tower

    A chrome coil tower with a polished toroid throws branching lightning arcs to five floating chrome spheres over a mirror floor; the bolts re-branch every frame while sparks rain and a blue flicker lights the scene.

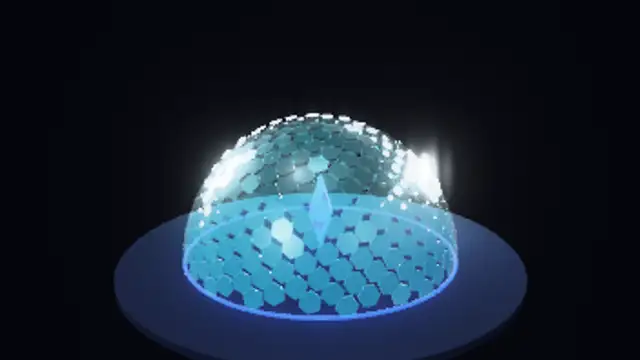
  • Hex Shield Dome

    A translucent dome of hundreds of hexagonal panels guards a glowing crystal; seeded energy bolts slam into the shell and light rings of panels rippling outward, with sparks, flashes and a dark reflective floor.

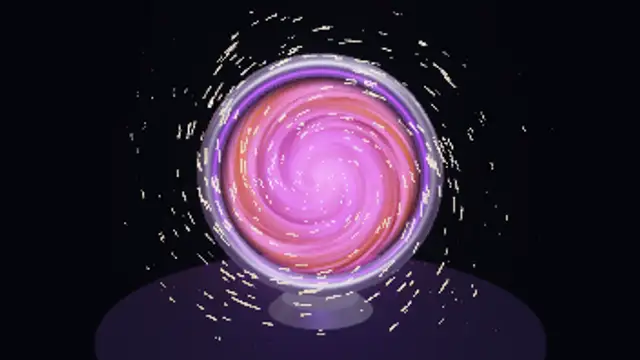
  • Magic Portal Vortex

    A chrome-clamped ring gate holds a swirling spiral energy disc; hundreds of glowing motes with light trails spiral into its centre while dust drifts past and the frame throws coloured rim light over a dark floor.

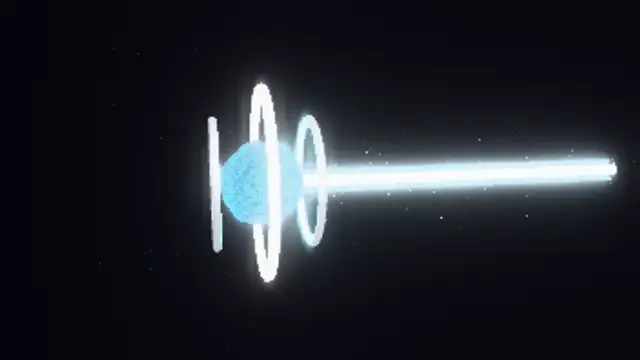
  • Energy Beam Charge

    Hundreds of motes spiral into a plasma core between two spinning chrome rings until it overloads and fires a blazing horizontal beam across the frame with a shockwave and sparks, then drains and recharges in one seamless cycle.

All 3d vfx

Step by step

  1. Pick the 3D element

    Energy Reactor Core and Floating Crystal Shards are hero objects for intros and reveals. Morphing Point Cloud and Glossy Spheres Float sit behind titles as abstract backgrounds. Sci-Fi Corridor Flythrough is an establishing shot or a transition.

  2. Set the three colors

    Primary drives the main material or plasma, Secondary the fill light, fog or core glow, Accent the emissive rails and sparks that bloom. Chrome and glass keep their studio reflections whatever you pick.

  3. Tune speed, tilt and intensity

    Speed sets how many turns or segments the main motion completes per second; keep it low for hero loops. Camera tilt adds depth to the view. Intensity raises the bloom and the emissive glow.

  4. Choose the aspect ratio

    Every scene reframes its camera for 16:9, 9:16, 1:1 and 4:5, so a vertical Short shows the whole object rather than a crop. Check the poster frame after switching.

  5. Export for compositing

    Keep the dark backdrop and export MP4 for a standalone loop, or switch the background to transparent and export WebM or a PNG sequence to place the object over your footage with its glow intact.

Where it is used

  • Tech and gaming intros

    A channel opens with Energy Reactor Core recolored to its brand blue, cuts to the logo, and loops Sci-Fi Corridor Flythrough under the episode title.

  • Product and SaaS promos

    A startup places Glossy Spheres Float in its brand palette behind feature headlines, matching the clean 3D look of its landing page.

  • Music visuals and streams

    A producer runs Morphing Point Cloud in 9:16 for a Reel, then as a 16:9 background loop on stream with Floating Crystal Shards during breaks.

Rendering
Real-time 3D with PBR materials, environment reflections, HDR bloom and filmic tone mapping
Default length
10 to 12 seconds, all seamless
Best export
MP4 for scenes, WebM or PNG sequence with alpha for overlays
Aspect ratios
16:9, 9:16, 1:1, 4:5

Which format should you export?

MP4 for full scenes with their own dark backdrop, WebM or PNG sequence with alpha when you composite the object over footage. Everything renders at 16:9, 9:16, 1:1 and 4:5 with the camera reframed, not cropped.

Format
MP4 · WebM · PNG sequence
Alpha
WebM or PNG sequence
Resolution
720p to 8K
Aspect
16:9 · 9:16 · 1:1 · 4:5
Works with
Premiere Pro · After Effects · DaVinci Resolve · Final Cut Pro · CapCut · Figma
License
Commercial use included
Cost
Free · no account · no watermark

Three tips that make it look intentional

  • Set Primary, Secondary and Accent first. Primary is usually the main material or plasma, Secondary the fill light or fog, Accent the emissive rails and sparks that bloom.
  • Keep Speed low for hero loops. A rate of 0.1 per second gives one full turn over a ten second clip; raise it only for backgrounds that sit behind text.
  • Use Camera tilt to match your footage. A few degrees of tilt sells the 3D depth; zero keeps a product-style head-on view.

Three things people get wrong

  • Pushing Intensity to maximum on a bright background. Bloom is additive, so a glowing core over white footage loses its shape; keep the backdrop dark or lower the intensity.
  • Exporting a 3D loop shorter than one full rotation. Pick a duration where the main motion completes a whole turn so the loop stays seamless.
  • Stacking several 3D loops at full opacity. Use one as the hero and dim the others, exactly as you would with rendered passes.

Frequently asked

Is this real 3D or a flat imitation?

Real 3D. Each preset builds a scene with geometry, physically based materials, lights and a camera and renders it through WebGL in your browser, then composites it into the clip with bloom and tone mapping.

Do the loops repeat cleanly?

Yes. Every 3D VFX preset is seamless: the last frame equals the first, so you can repeat it on the timeline for as long as the shot needs.

  • How to Add Shape Transitions to a Video

    Shape Transitions

    How to Add Shape Transitions to a Video

    A shape transition is a graphic wipe where a circle, bar or tile grid travels across the frame and hands the shot over to the next one. It hides the cut, carries your brand color and works in any editor once exported as MP4 or transparent WebM.

    Read the guide
  • How to Add a Glitch Effect to a Video

    Glitch Effects

    How to Add a Glitch Effect to a Video

    Choose a glitch preset, set the intensity, speed and colors, and decide whether it carries text or acts as a transition. Export MP4 for a full-frame hit or transparent WebM when the distortion should sit over your own footage.

    Read the guide
  • How to Add Light Leaks to a Video

    Light Leaks & Flares

    How to Add Light Leaks to a Video

    Export a light leak on a transparent background, place it on the track above your footage, and set the blend mode to screen or add if your editor needs it. Trim it to the cut you want to soften, and lower the opacity until it feels like lens behavior rather than an overlay.

    Read the guide
Ready to create?

Make your next clip in the next five minutes

Editing, previewing and downloading are free. No account, no watermark, every format and resolution.